 Models
 Materials
 HDRIs
 Scenes
 Brushes
 Node Groups
 Printables
 Creators
 Creations
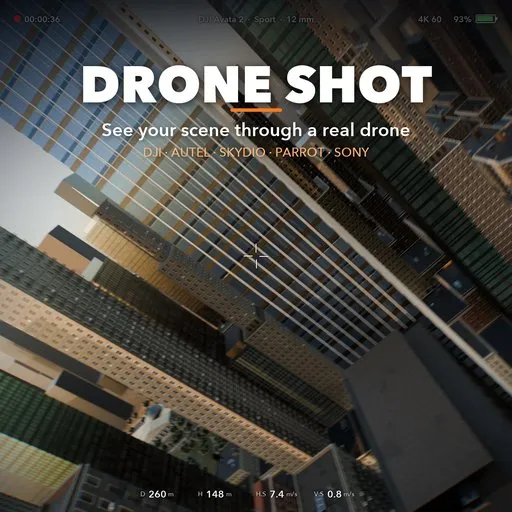
Drone Shot
 add-on
Mark the important spots, pick a real drone (DJI, Autel, Skydio, Parrot, Sony) and get a collision-free, physically simulated camera flight with that drone's lens and gimbal.
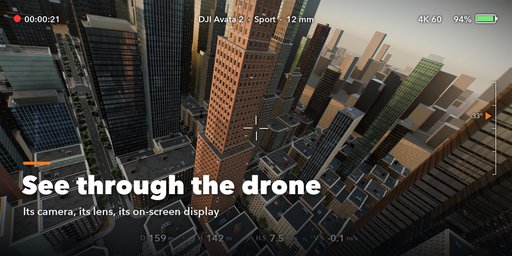
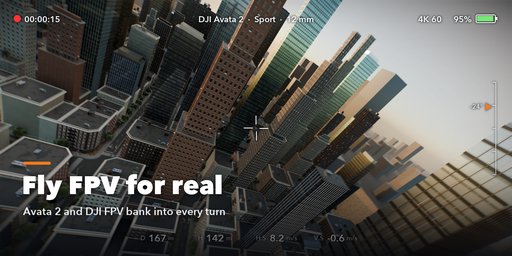
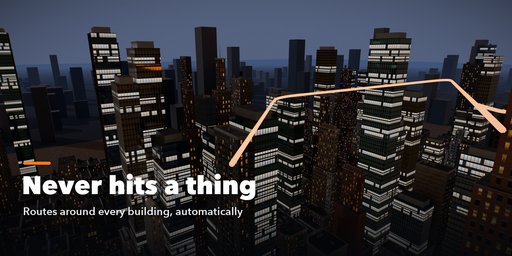
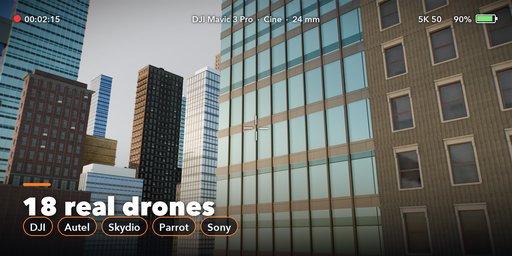
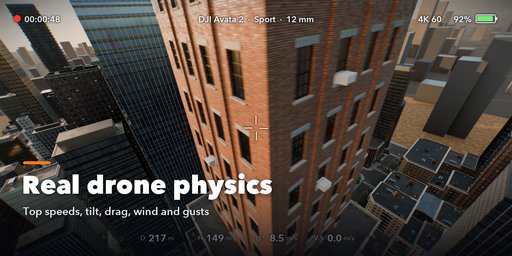
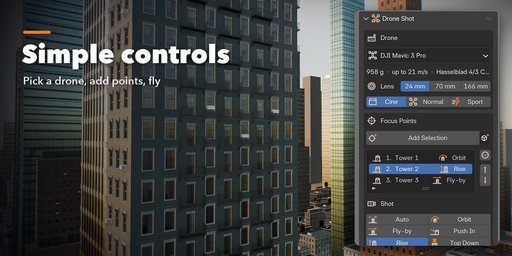
Drone Shot turns your scene into real drone footage. Mark the buildings or spots that matter, pick the drone you would fly in real life, and press Plan & Fly: the add-on plans a safe route around your geometry, flies it with that drone's physics and gives you a camera with its real lens, sensor and gimbal. Then you watch the flight through the drone's eyes, with a live telemetry overlay like on a drone controller.
Built for architecture visualization, real estate, urban planning and environment shots, where a believable aerial camera matters more than a perfect curve.
Features
- 18 real drone profiles: DJI Mini 4 Pro, Mini 3, Neo, Air 3, Air 3S, Mavic 3 Pro, Mavic 4 Pro, Phantom 4 Pro, Inspire 2 and 3, Avata 2 and FPV, Autel EVO II Pro, EVO Lite+ and EVO Nano+, Skydio 2+, Parrot ANAFI Ai and Sony Airpeak S1
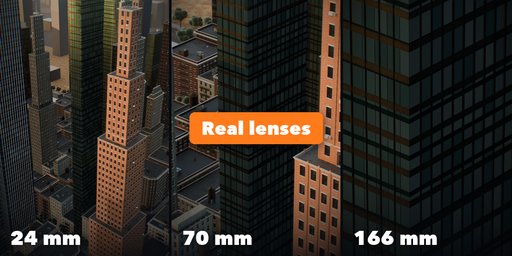
- The real camera of each drone: sensor size, every lens (24, 70 and 166 mm on the Mavic 3 Pro, full-frame DL lenses on the Inspire 3), aperture for depth of field, gimbal limits and video resolution
- Cine, Normal, Sport and Manual flight modes with each drone's published top speed, climb and descent rates
- Physically simulated flight: thrust and tilt limits, air drag, steady wind, gusts and turbulence, so the drone tilts into its turns and against the wind and eases in and out of every move
- Collision-free routes: the planner keeps a safety distance from every object, including modifiers and instances, and goes around or over anything in the way
- Automatic, smart start and end: an open, elevated approach and a pull-back reveal of the whole site, or your own start and end markers
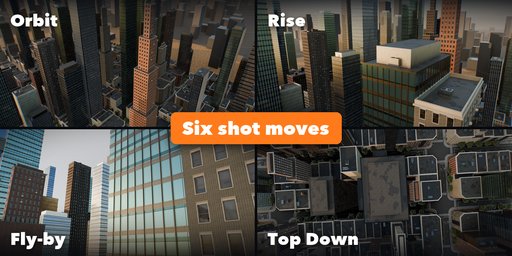
- Six shot moves per point: orbit, fly-by, push in, rise, top down or automatic
- FPV drones bank with the picture; gimbal drones keep the horizon level with a trace of real vibration
- DJI-style telemetry overlay: height, distance, speeds, gimbal pitch, battery and timecode
- Clean sidebar UI with its own SVG icon set
Requires Blender 4.2 or newer. Tested on Blender 4.2, 4.5 and 5.2 LTS. Drone and brand names belong to their owners; the profiles only describe which drone the camera and flight imitate.
How to use
Installation
In Blender open Edit, Preferences, Get Extensions, then use Install from Disk and pick the zip.
Usage
- Open the Drone Shot tab in the 3D viewport sidebar (N).
- Pick a drone, its lens and a flight mode (Cine is the smoothest).
- Select the buildings or objects to film and click Add Selection. In Edit Mode it adds the selected vertices; with nothing selected it adds the 3D cursor.
- Choose a shot for each point (Auto, Orbit, Fly-by, Push In, Rise, Top Down) and, if you like, a hover time.
- Click Plan & Fly. The drone, its camera and the flight path are created and the flight plays through the drone camera.
- Optional: under Start & End use markers for your own start and end or fly back Home; set a fixed Duration instead of Auto.
- Everything else is under Advanced: Flight Settings (speed, safety gap, heights, take-off and landing, fine-tuning of each shot), Camera & Gimbal, Wind & Realism and Display.
FAQ
Which Blender versions are supported?
Blender 4.2 and newer. It is tested on Blender 4.2, 4.5 and 5.2 LTS.
Will the drone fly through my buildings?
No. The planner keeps the safety distance you set from every visible object, including modifiers, Geometry Nodes and instances, and the flown trajectory is checked again after the physics simulation. The panel reports the closest distance.
How accurate are the drone profiles?
Camera sensors, lenses, gimbal ranges, weights and speeds come from the makers' published specifications, rounded. Air drag is sized so each drone reaches its real top speed at its maximum tilt.
Does it work with any render engine?
Yes. The result is an ordinary animated camera, so it renders in Cycles, EEVEE or any other engine.


